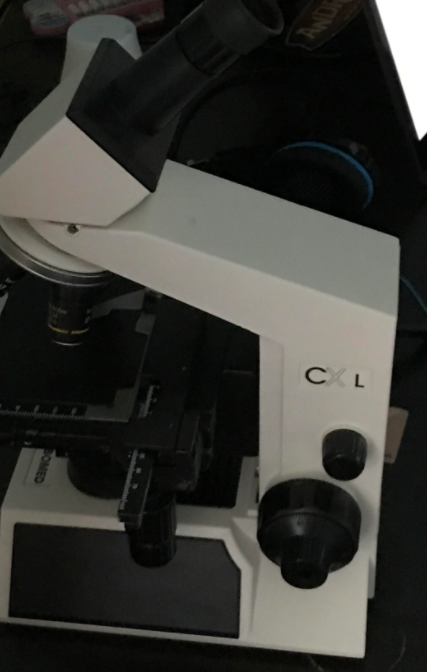
Model and name of the instrument: LABOMED, microscope
What is it used for? A microscope is used for viewing small objects like blood cells and any other cells, we also use it because we can not see any of the small objects with the naked human eye.
Who needs it? Doctors that study all types of blood cells and certain bad cells that can be treated.
What parts is it made of?
- Head/Body houses the optical parts in the upper part of the microscope.
- Base of the microscope supports the microscope and houses the illuminator.
- Arm connects to the base and supports the microscope head.
- Plastic
- Glass
- Lenses
How does it work? Describe in great detail. On the microscope there are 2 buttons on the side, the bigger button adjusts the height of the plate in a way that isn’t supper accurate.The smaller one makes it more accurate once you have already gotten the big one set up. On the side of the plate there is a button that adjust how far the object that you want to view. The other one can move it from side to side. At the top of the microscope there is the different viewing points of the object, you can zoom it in and out. You look inside a small pipe that can be zoomed in and zoomed out. The microscope also has a “on” and “off” switch, the “o” indicates that it is off and the “-” indicates that it is on.
Andrei:
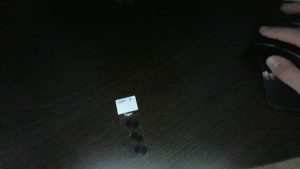
Today I have managed to take a picture of the item, i am now trying to identify what the small item is! Now i am going to identify the item and take a picture of it once i have identified it.

I am still trying to identify what it is but i am starting to get the hang of it, i have taken another picture that is more clear of the same object.
A new picture that is zoomed out further than the one before.
The microscope is in great condition and is working very well and is very precise.
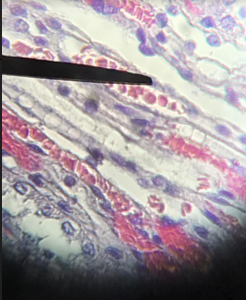
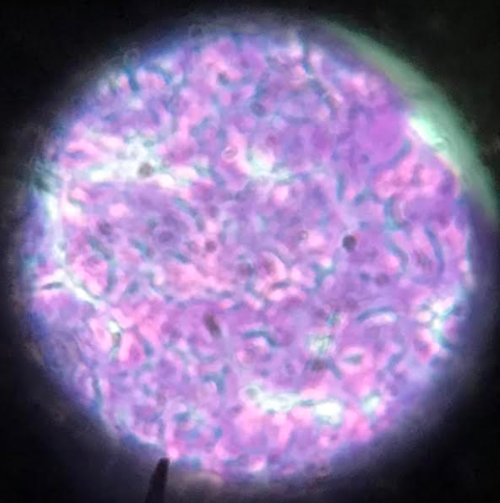
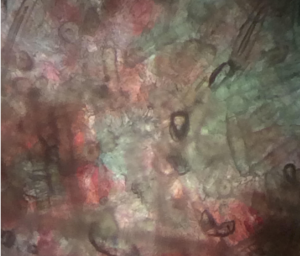
I took a new picture of a new cell and i have found some spots that are rich in hemoglobin, the object that i took is called The cytoplasm of erythrocytes.
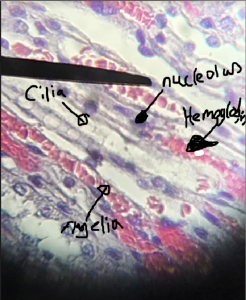
In this picture i was using pixlr to add the names of the little objects in the cell, the picture i am using is different than all the other ones.
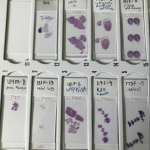
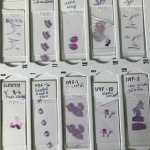
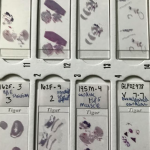
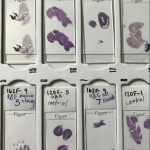
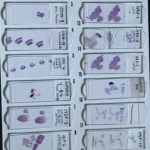
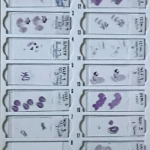
I took a picture of the little slides of the cells above this picture.
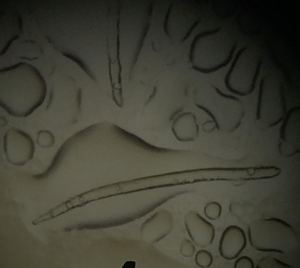
This here is a picture of GINGER, if you look at a small piece of GINGER you can sometimes see the water like objects splitting and getting smaller.
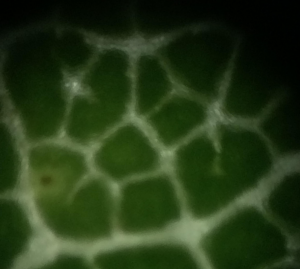
This picture here is not any of the slides that I was given, I tried to use a little leaf and these are the results and pictures that i got from my phone. The green parts of the leaf are the cells themselves and the white part is the border of the cells. The cells are green because of the clorophene.
This is a video of the GINGER splitting into smaller bubbles, I was not able to post it as a image or audio or video so I had to post it on YouTube and here it is. Watch it on YouTube: Ginger and water under microscope.
Later on I decided to get some more objects that are easy to find, this object that I took here is a peach. This was made under the strongest magnification. You can most likely see the hair on the peaches surface.
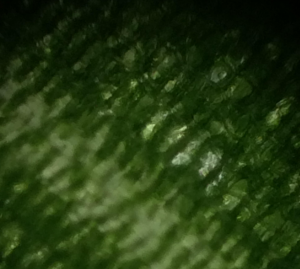
I also took another leaf that I thought would look cool under the microscope, and as you can see there are many little lines that are separating them all the cells from each other.
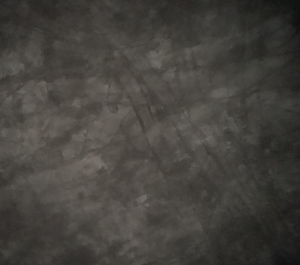
In this picture I took a piece of paper and put it up to the microscope, it was very plane and there was no color to it, but you are still able to see the little lines.